1. Quick Start
This walkthrough takes you from download to feeling your first effects. Each step links to the page with full detail.
1.1 Install TelemFFB
Download the latest release zip from the GitHub Releases page and extract it where you want the application to live. There is no installer; run TelemFFB.exe from the extracted folder.
Extract into a dedicated folder
TelemFFB must live in a folder of its own, for example C:\TelemFFB or a TelemFFB folder on your Desktop, because the auto-updater manages everything in the folder that contains the executable. Do not extract directly onto your Desktop, into Documents or Downloads, into a drive root, or into Program Files, and do not run it from inside the zip file; TelemFFB refuses to start from these locations. See Installation.
Note
If your antivirus flags the executable, see TelemFFB and Antivirus Software. This is a known false-positive pattern with PyInstaller-packaged applications.
1.2 First Launch: System Settings
The first time you start TelemFFB, a notice reports the result of automatic device assignment. If a connected device’s name matches the role (Joystick, Pedals, Collective), TelemFFB assigns it and says so; otherwise the notice asks you to assign one yourself.
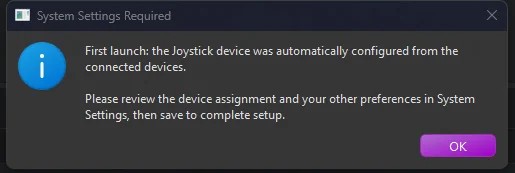
Click OK and the System Settings window opens (it always does on first launch, whether or not auto-assignment succeeded) so you can review the assignment and the rest of your preferences.
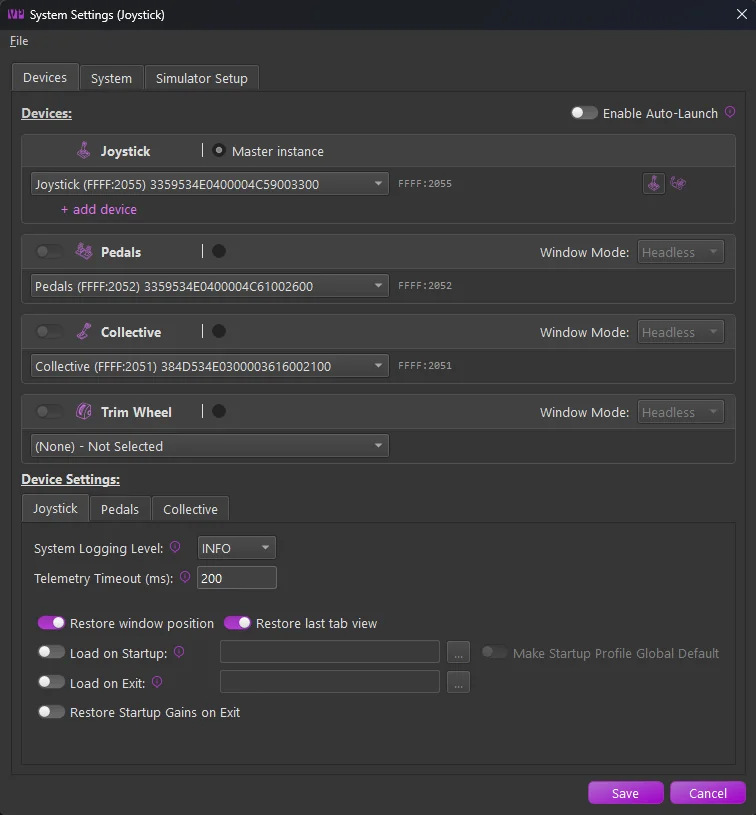
- On the Devices tab, verify your devices; each card should already show its auto-assigned device selected. If you have more than one device, enable auto-launch on the additional cards so their instances start automatically; see Devices & Instances.
- On the Simulator Setup tab, enable each simulator you fly and let the auto-setup features install the required export scripts or plugins; see Connecting Your Simulator.
Save the settings. TelemFFB connects to your device and sits ready for telemetry.
1.3 Fly
Start your simulator and load a flight. TelemFFB detects the aircraft from the telemetry, matches it to a profile, and applies the settings automatically. Many aircraft ship with tuned default profiles. An unmatched aircraft needs a profile before its effects can work properly: the aircraft class determines which effect set and spring model apply, and TelemFFB cannot know the class until you choose it. Create the profile with the Add New Aircraft wizard.
Verify it is working:
- The status icon shows Running when telemetry is flowing (the system tray icon turns green too).
- The Current Aircraft and Matched Model fields show what TelemFFB detected.
- The Monitor tab shows live telemetry values and the effects currently playing.
See the UI Overview for what everything on the main window means.
1.4 Tune
Open the Settings tab while flying. Every change applies immediately: no restart, no save-and-reload.
- Slider handles turn green while their effect is actively playing, so you can see what you are feeling.
- Toggle an effect off and on to isolate it.
- Made a mess? Click the x icon next to any modified setting to return it to the default. See How Settings Work.
1.5 Next Steps
- MSFS or X-Plane: TelemFFB provides your entire force feedback implementation: spring forces, trim, autopilot. Read the MSFS & X-Plane guide next; it is the most important page for these sims.
- DCS: the sim provides native FFB; TelemFFB layers additional effects on top. The DCS guide explains how the two interact.
- IL-2: enable the shake-master settings to replace IL-2’s basic shakes with configurable ones; see the IL-2 guide.
- Browse the Effects Reference to see everything you can enable.